
Unclutter makes it easy to keep your files, notes, and clipboard history close at hand. But what if you could also use them in your automated workflows, together with other Mac apps?
With Unclutter 2.3, you can. We’ve added support for Apple Shortcuts, giving you 22 new actions to work with Unclutter Files, Notes, and Clipboard.
You can now build shortcuts that find and open files, create or update notes, retrieve items from Clipboard History, and much more. Combine these actions with other apps and macOS features to automate repetitive tasks or simply make everyday things a little easier.
What can you do with Unclutter Shortcuts?
The new actions cover all three Unclutter panels. Each one offers a different set of possibilities, and you can combine them in a single shortcut.
Unclutter Files
You can now find and work with files stored in Unclutter without having to navigate to them manually. For example, you can create a shortcut that searches your Unclutter Files for a particular document, lets you choose from the results, and opens the selected file in Quick Look.
Here’s what the Files actions let you do:
- Find Files — Search for files and folders by name, or get a list of everything in your Unclutter Files panel.
- Get File — Retrieve a selected file or folder so you can use it in other Shortcuts actions. You can also choose to resolve Finder aliases and symbolic links to their original targets.
- Show File in Unclutter — Open Unclutter and highlight a particular file.
- Show File in Finder — Reveal a file or folder in Finder.
- Get Unclutter Files Folder — Get the location of your current Unclutter Files storage folder.
- Move File to Trash — Move a selected file or folder to the Trash, with an optional confirmation.
Unclutter Notes
With Shortcuts, your Unclutter notes can become part of an automated workflow, too. You can create new notes, search existing ones by their contents, read or replace their text, or add new information without overwriting what’s already there. This can be especially handy for maintaining a daily journal, collecting useful links, or keeping a running list of things you want to remember.
The Notes actions include:
- Find Notes — Search through the contents of your notes, or retrieve them all.
- Create Note — Create a new note, either empty or with text you provide.
- Get Note Text — Retrieve the full text of a note for use in another action.
- Add Text to Note — Insert text at the beginning or end of an existing note, with a customizable separator.
- Replace Note Text — Replace a note’s entire contents, with an optional confirmation.
- Open Note — Open a specific note in Unclutter.
- Get Unclutter Notes Folder — Get the location of your Notes storage folder.
- Delete Note — Move a note to the Trash, with an optional confirmation.
Unclutter Clipboard
Clipboard History is particularly useful for automation because it gives your shortcuts access to things you’ve previously copied — not just what’s currently on your clipboard. For example, you could find a web link you copied earlier, extract its URL, and add it to a note. Or retrieve an image from Clipboard History and pass it to another action for previewing or saving.
Here’s what you can do:
- Find History Clips — Search your Clipboard History or retrieve its available entries.
- Find Favorite Clips — Find clips saved in Clipboard Favorites.
- Get Clip Content — Retrieve a clip’s contents and make them available for use in other Shortcuts actions.
- Copy History Clip — Copy a previously saved clip back to the system clipboard.
- Copy Favorite Clip — Copy a favorite clip to the system clipboard.
- Save History Clip to Favorites — Add a clip from History to Favorites while keeping the original in History.
- Delete History Clip — Remove an item from Clipboard History.
- Delete Favorite Clip — Remove an item from Favorites.
The search actions work with different kinds of content, including text, URLs, email addresses, color codes, filenames, etc. Get Clip Content retrieves the contents of a selected clip, with different properties available depending on its type. To use a specific property, simply click the Clip Content variable in the next action and select what you need. You can also check the Clip Type property to handle different kinds of clips within the same shortcut.
Note: Protected Clipboard History entries aren’t accessible through Shortcuts.
How to get started
All 22 actions are available directly in Apple’s Shortcuts app on macOS Ventura (13) and later.
To find them:
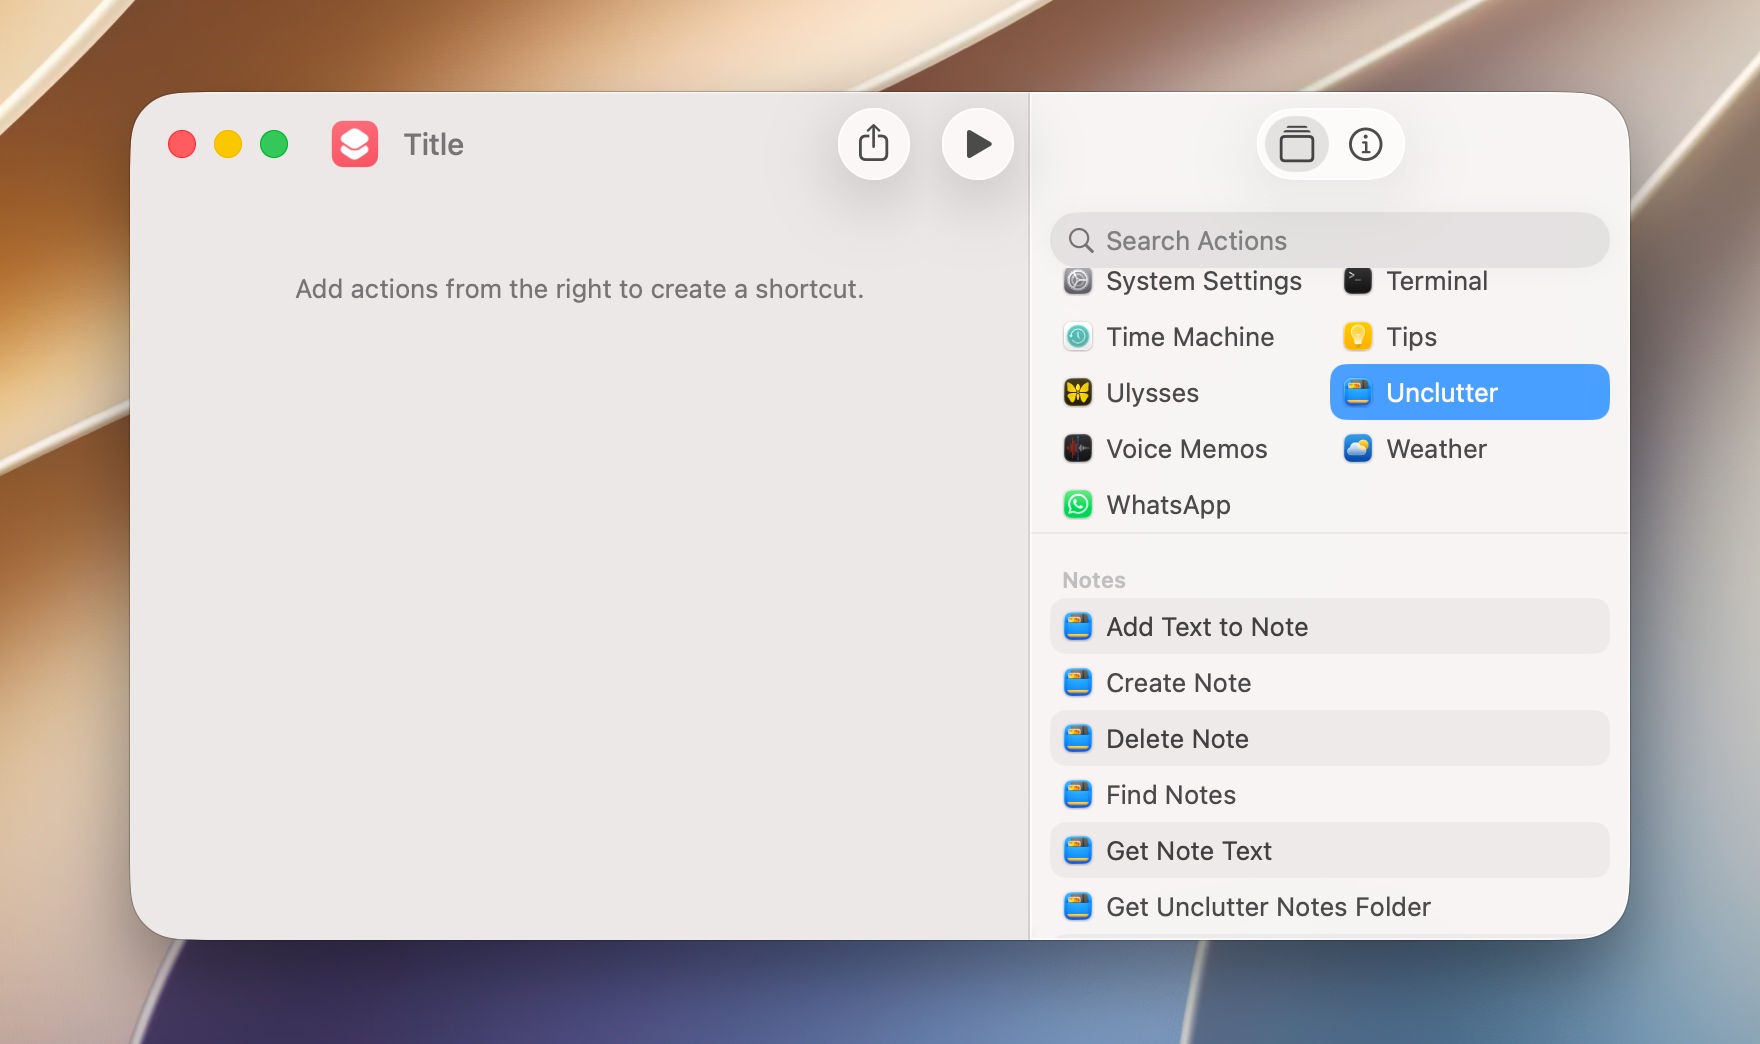
- Open the Shortcuts app on your Mac and create a new shortcut.
- In the action library, select Apps → Unclutter.
- Browse the available actions under Files, Notes, and Clipboard.
- Drag an action into your shortcut and configure its options.
You can use Unclutter actions on their own or connect them with other actions to build more useful workflows.
Shortcuts lets you pass the result of one action to another using Magic Variables. For example, you can find a file with one action, select it with another, and then open it in Quick Look.
If you’re new to this, Apple’s guide to Magic Variables is a good place to start.
Automation settings and permissions
Shortcuts support is enabled by default, so there’s nothing extra you need to turn on before getting started. However, you have full control over which parts of Unclutter are accessible to automation.
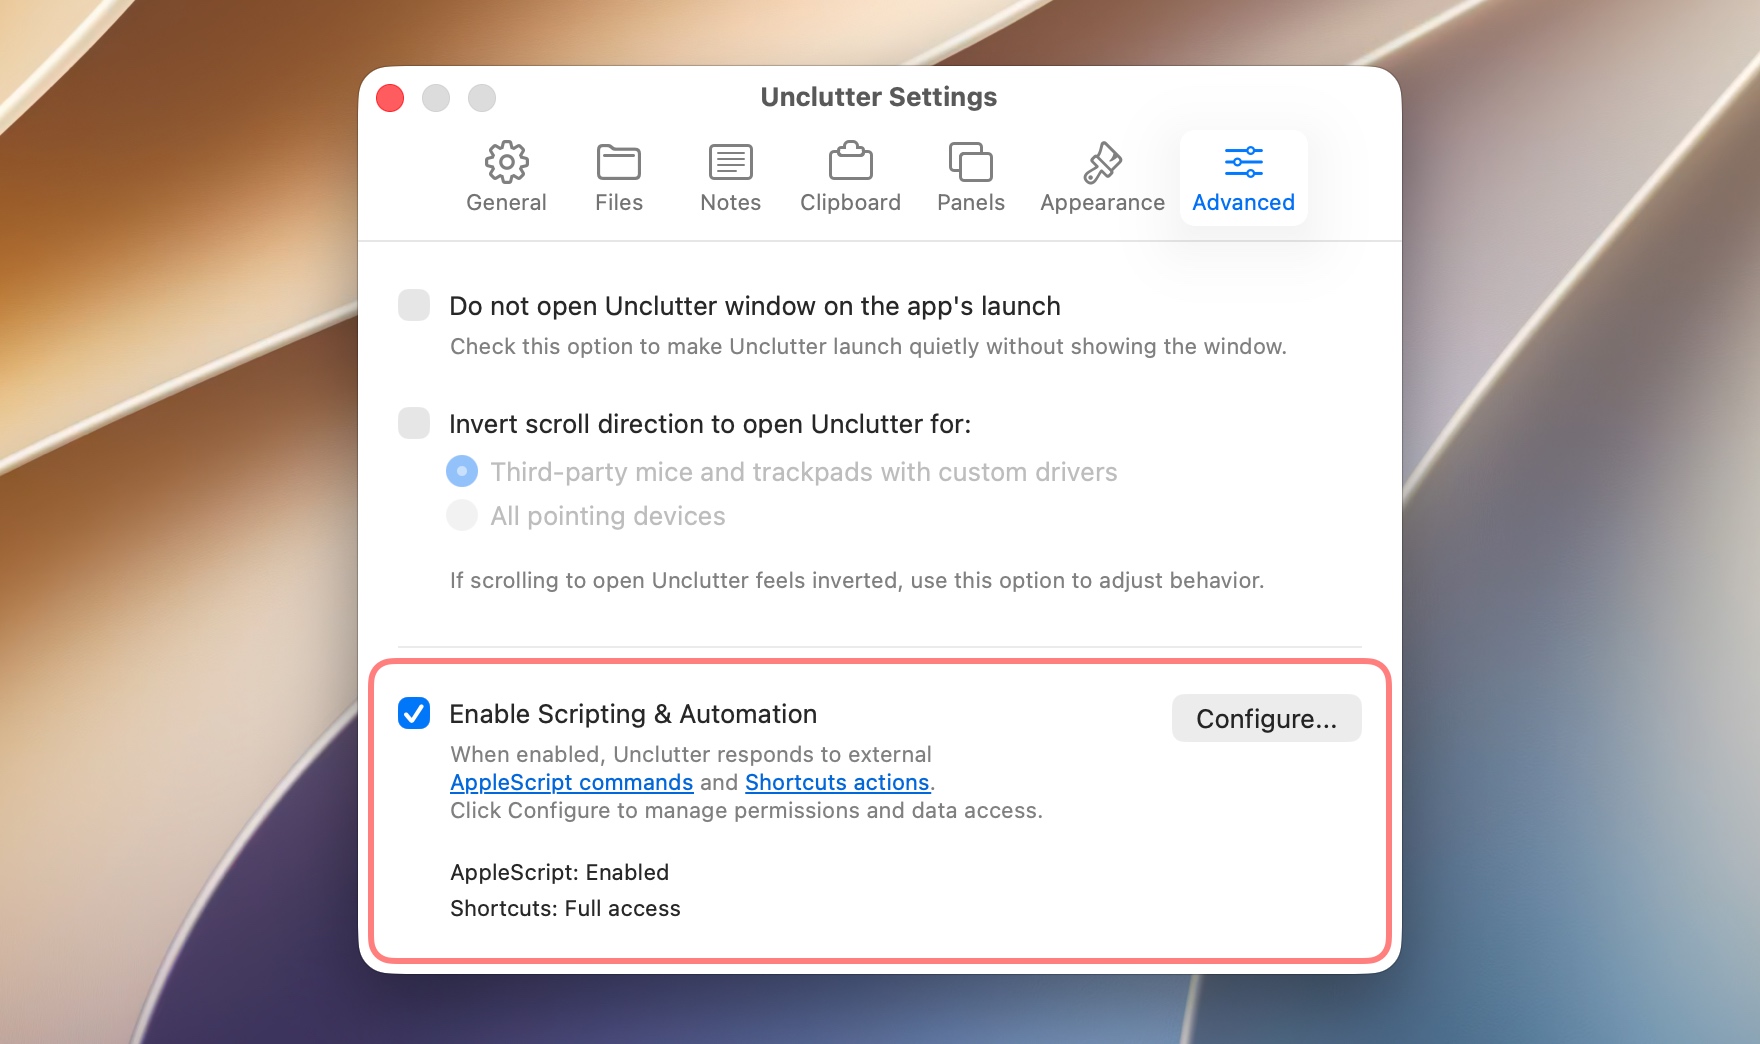
Open Unclutter Settings → Advanced and look for Enable Scripting & Automation. You can disable automation entirely or click Configure… to manage access separately for Files, Notes, Clipboard History and Favorites. AppleScript access can also be managed independently in the same window.
For security, Unclutter’s Shortcuts actions require your Mac to be unlocked when they run.
Put it to use
A shortcut doesn’t need to be complex to be useful. Start with a task you already do often, connect the Unclutter actions you need, and let Shortcuts handle the steps in between. You can always build on it later.