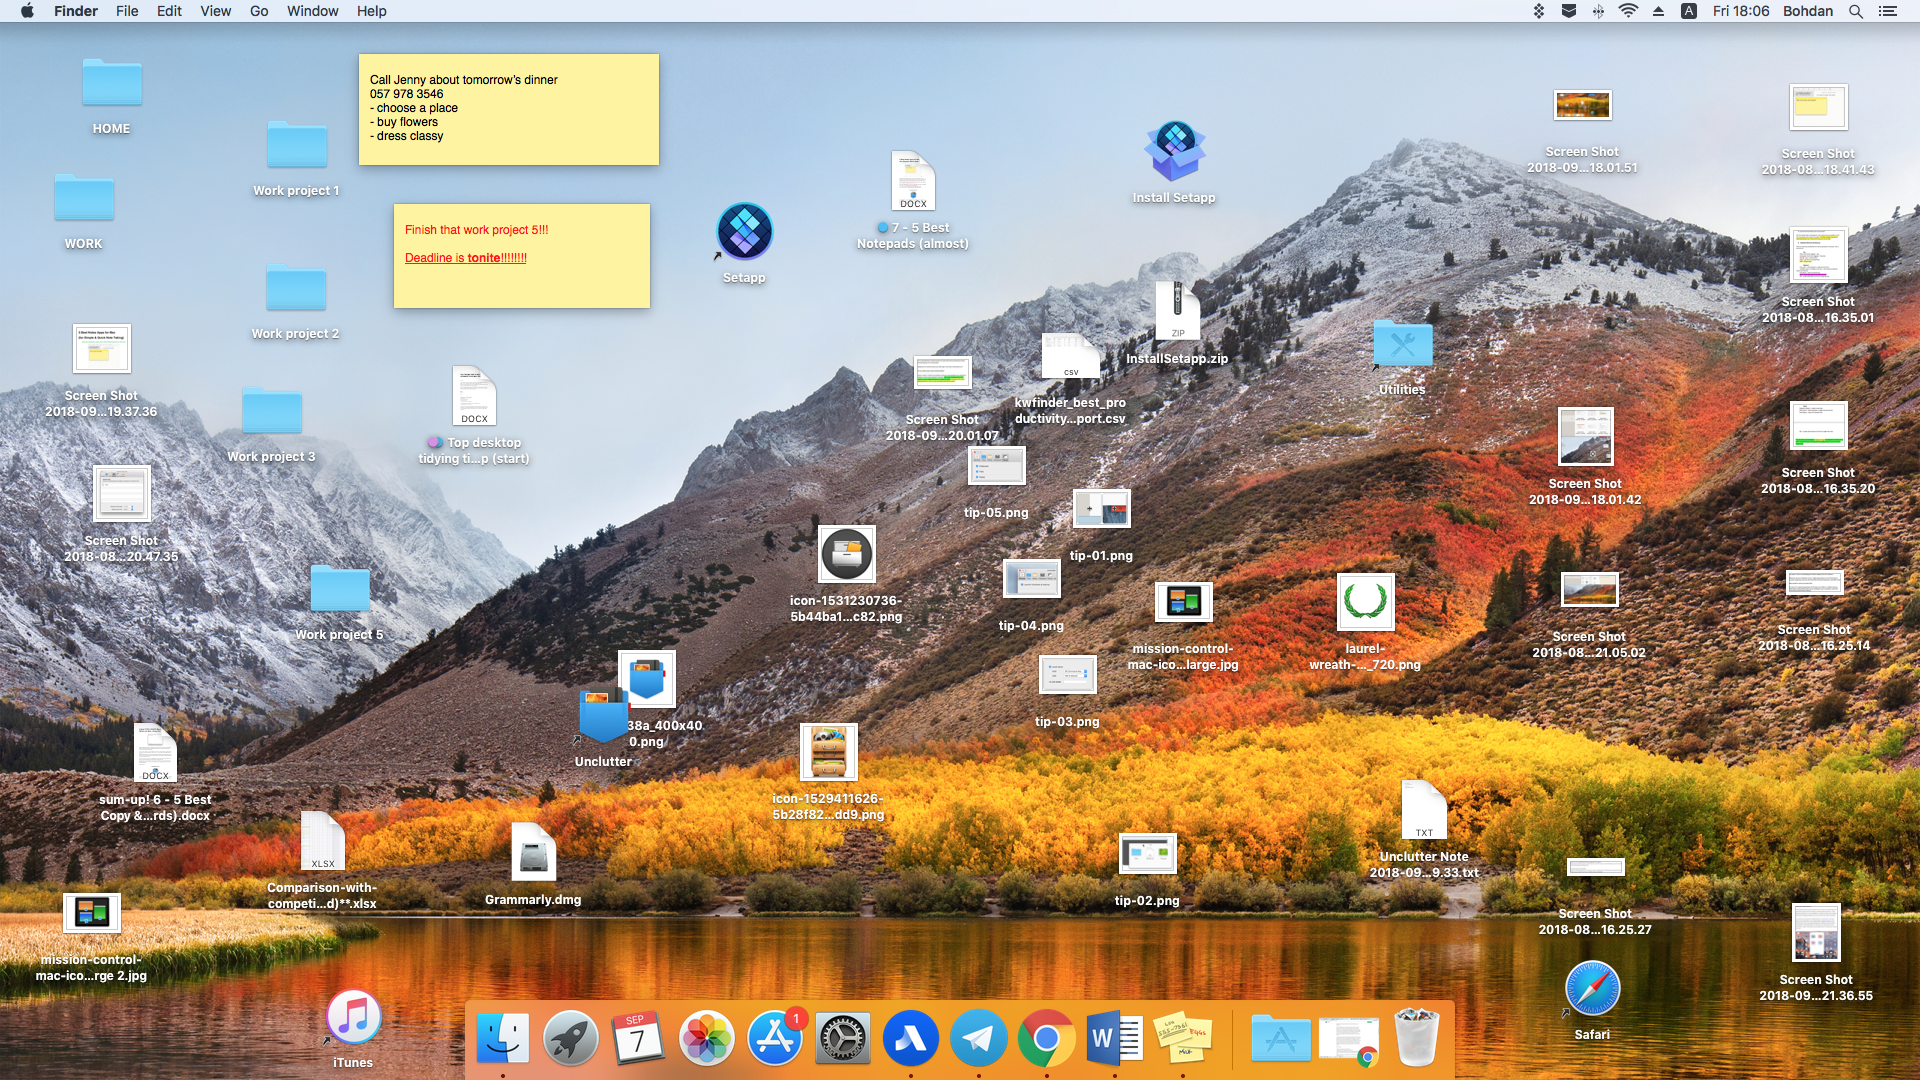
Just take a look at this desktop. Messy, cluttered. Random items arrangement (no perfectionist would bear). And that’s how desktops of Mac users happen to look like. If your desktop often resembles a similar picture, you may want to do something about it.
Why is a Messy Desktop NO Good?
- It distracts you. The human brain is in a constant process of image recognition and analysis. Working on your Mac with a plethora of extra objects surrounding your active windows hardly helps you being focused and clear-minded. The fewer objects fall within your sight, the more you can succeed in concentration.
- It complicates files management. Throwing everything on your desktop is not as convenient as it might seem. At first, it appears easy and handy, but when you reach the point when there’s almost no free space remaining – then challenges arise.
Cluttered desktop makes it difficult to quickly identify and locate the file you need. Files and folders of different projects may easily get mixed up, you’ll never quickly group related items. Besides, while working with several windows, it’s harder to access anything on a desktop. - It slows down your Mac. Each desktop item requires resources to keep its data, draw itself and stay ready for interactions. Although hardly noticeable, this still adds some extra load to the Mac (and if you’re a happy MacBook owner, “helps” to eat up the battery). The more of everything you have on your desktop, the more your Mac may linger.
- It obscures your desktop background. This actually speaks for itself. Recall the feeling when you sit down at a nice tidy desk – aesthetic enjoyment inspires your working spirit, productivity comes naturally. After all, wouldn’t it please you to see your beautiful wallpaper clean from tons of stuff scattered all over your desktop?
Top Tips to Tidy up Your Mac Desktop
To keep a place clean, it is better to stop littering it in the first place. Right? The same goes for a Mac desktop.
Ideally, you should store as much as nothing on it. Yet, sometimes you can afford to place there some files you work with at the moment. Or the few that you use often for certain period of time. In this case, those have to be nicely arranged for your convenience and eye pleasure.
Learn how to organize files on your Mac desktop from the following tips.
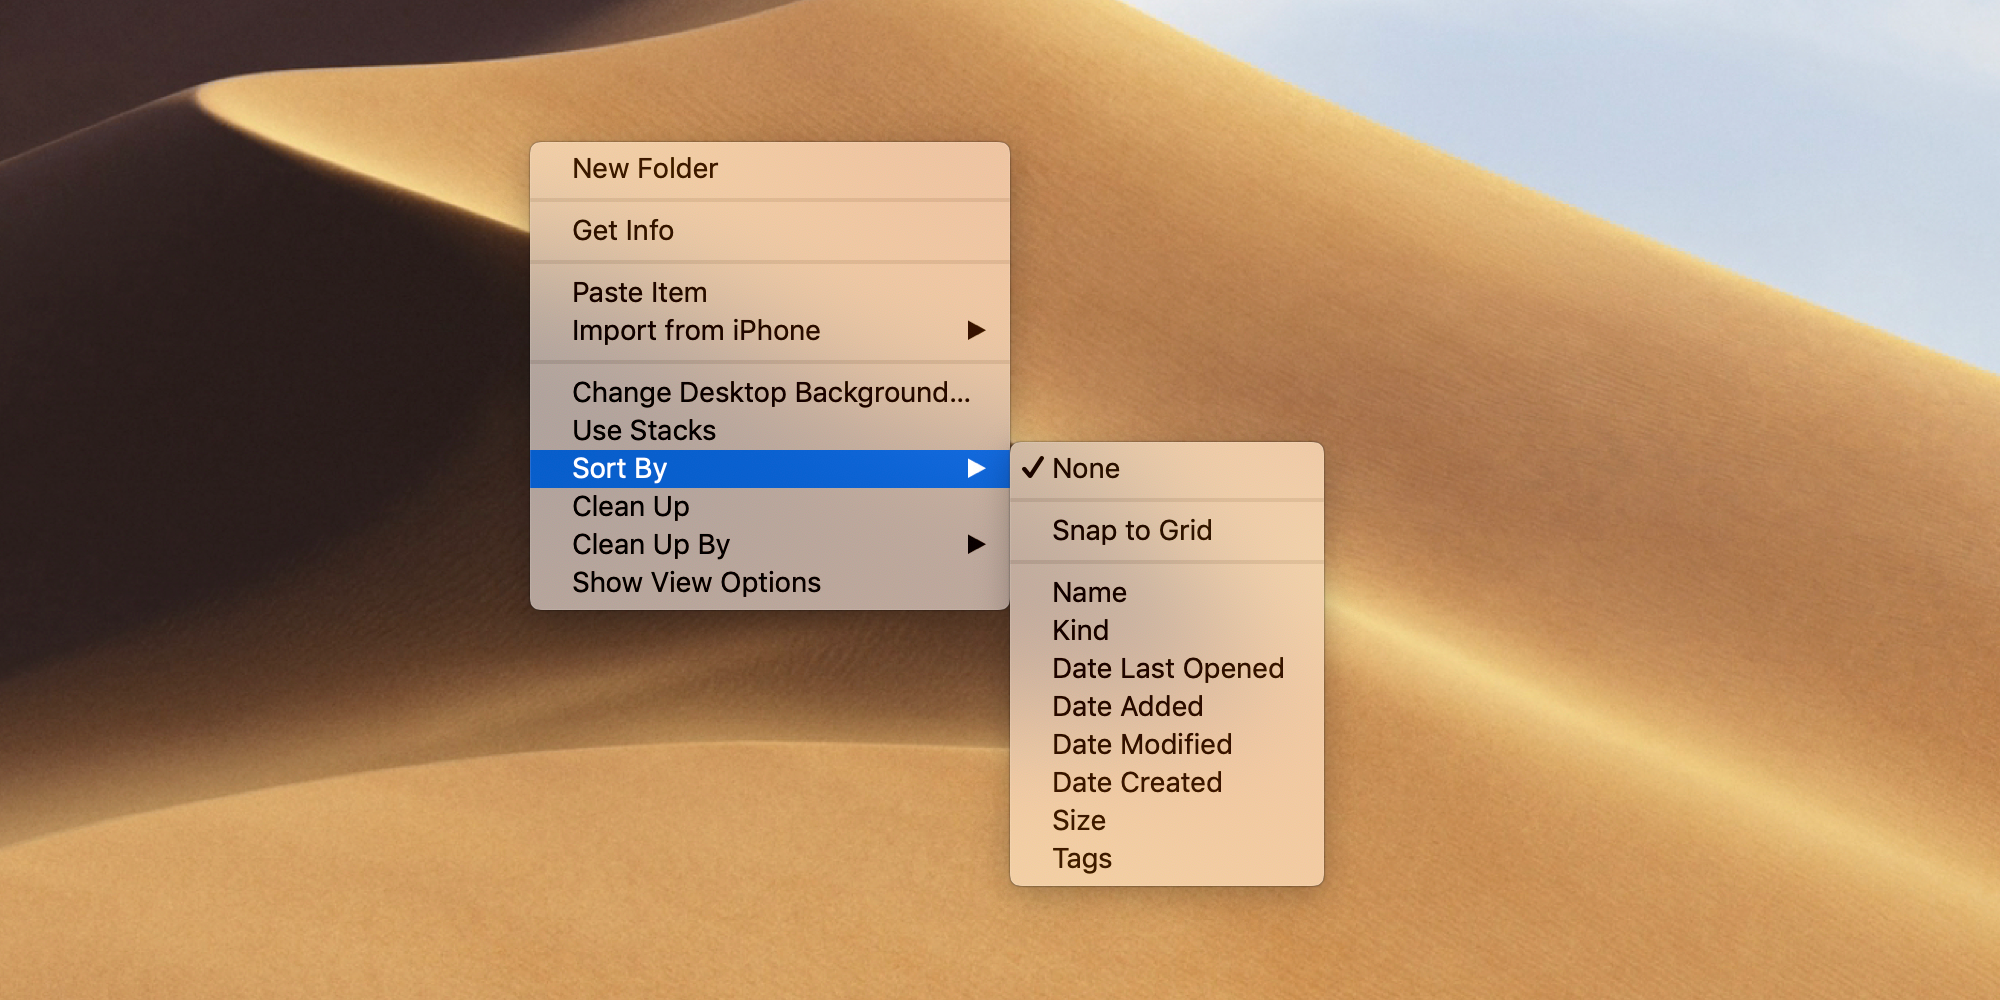
1. Clean Up & Sort By
No need to tell you how to clean up or sort your desktop items by name, kind, date, etc. Those are the basic system settings and they are good to start with. There is still a challenge when the quantity of everything you have on the desktop is close to overwhelming.
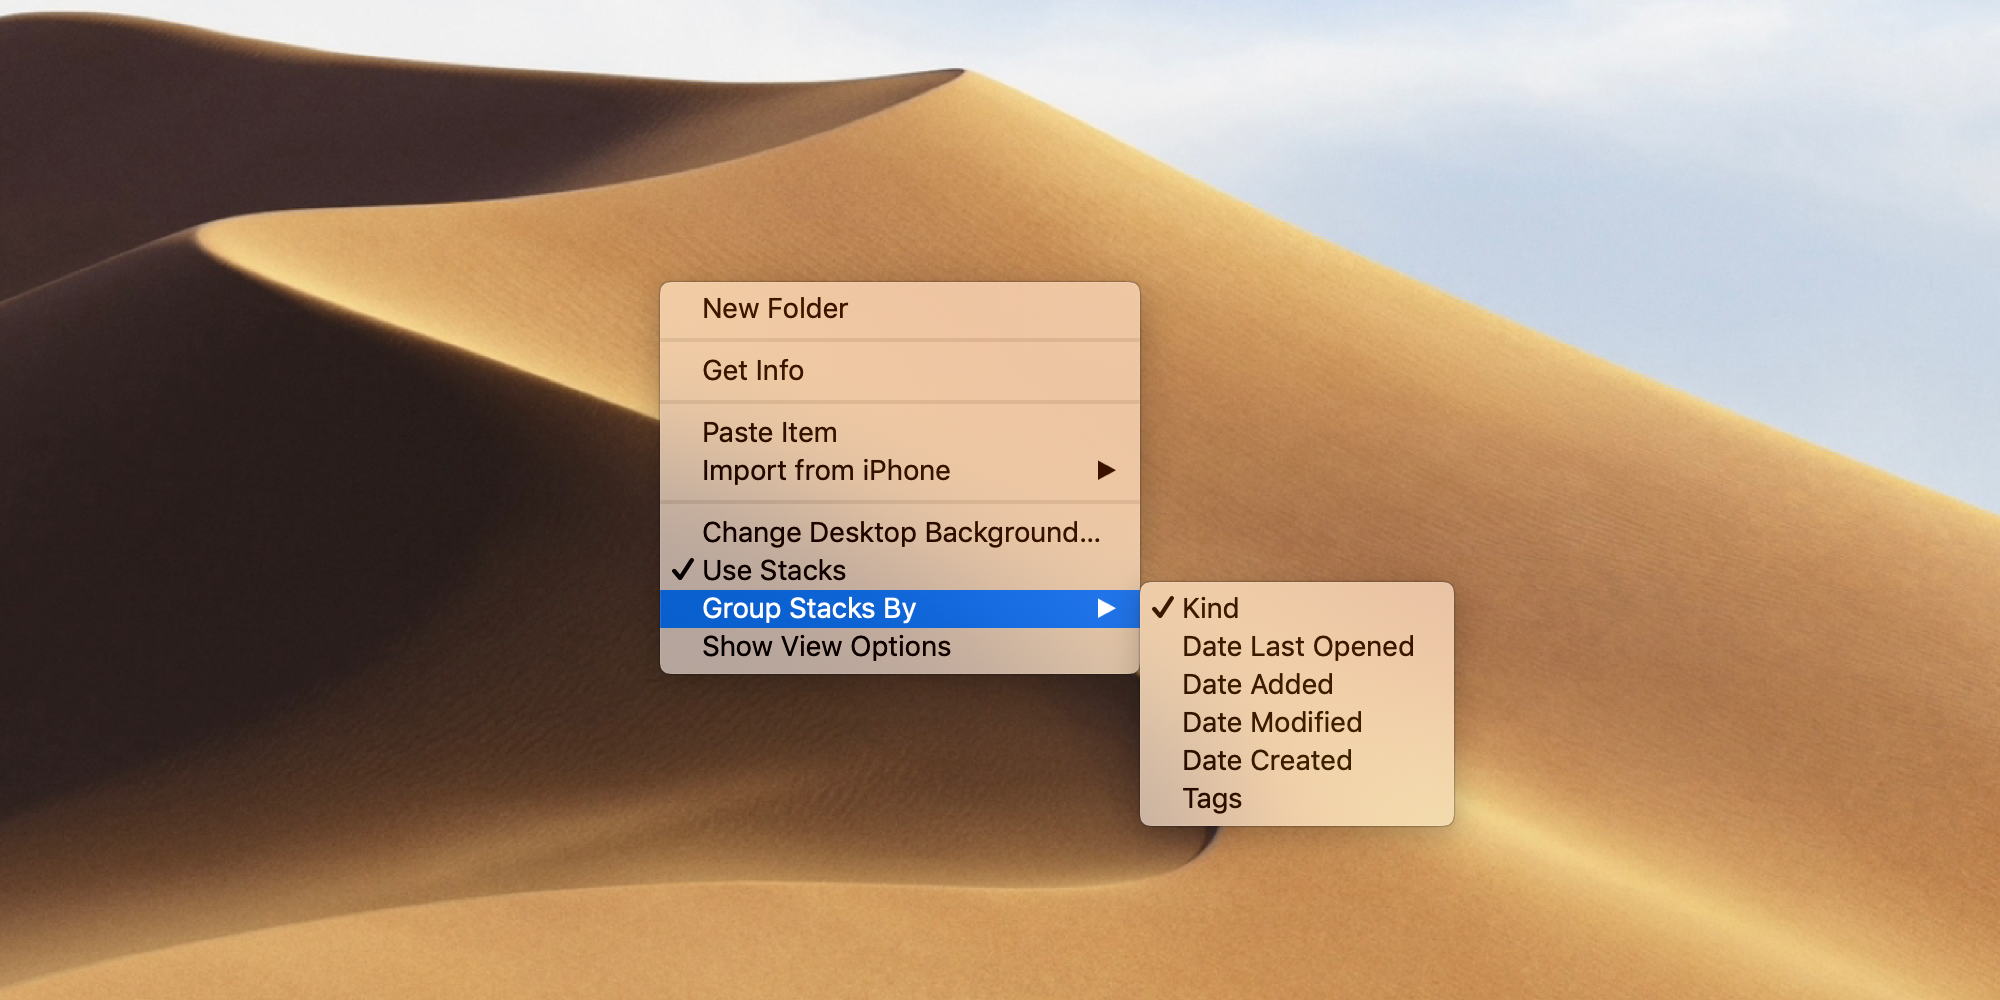
The Stacks feature in the new macOS Mojave is also a good thing to try. Even though it takes some extra actions to reach the required item, you can get a much more tidy and organized Desktop by grouping related items into one stack.
2. Get Rid of All Redundant Files
It’s not really the items arrangement that matters, but the very presence of those items on a desktop. Ask yourself:
How many files on your desktop are really important and often used ones?
I bet there’s not too many.
What can be deleted or moved to appropriate folders?
Those are usually temporary and out-of-date files — get rid of them as soon as possible.
The best option is to keep only the bare minimum of the most used items on your desktop. It may sound a bit too strict or limiting but, in fact, it’s a nice thing to get used to. Soon you’ll start feeling a little more organized, focused and productive.
3. Make the Most of Folders & Tags

You can easily find all kinds of files in Finder if you properly use folders and tags for them. First of all, it totally makes sense to keep your docs in Documents, pics in Pictures, etc. It is where macOS naturally expects them to be. Further on, create clear informative names for the folders (preferably for the files too). Specify the date, type, project and/or other useful data.
For most, properly named and located folders and files are just enough, but you may also try using Finder tags. Those colorful labels can help you organize files on your Mac even better. You may sort everything by color, place or whatever you wish. So at least check out those tags – maybe you’ll love them.
N.B. Just don’t colorize everything. The tags are of best help when assigned to several most important files or folders on a Mac.
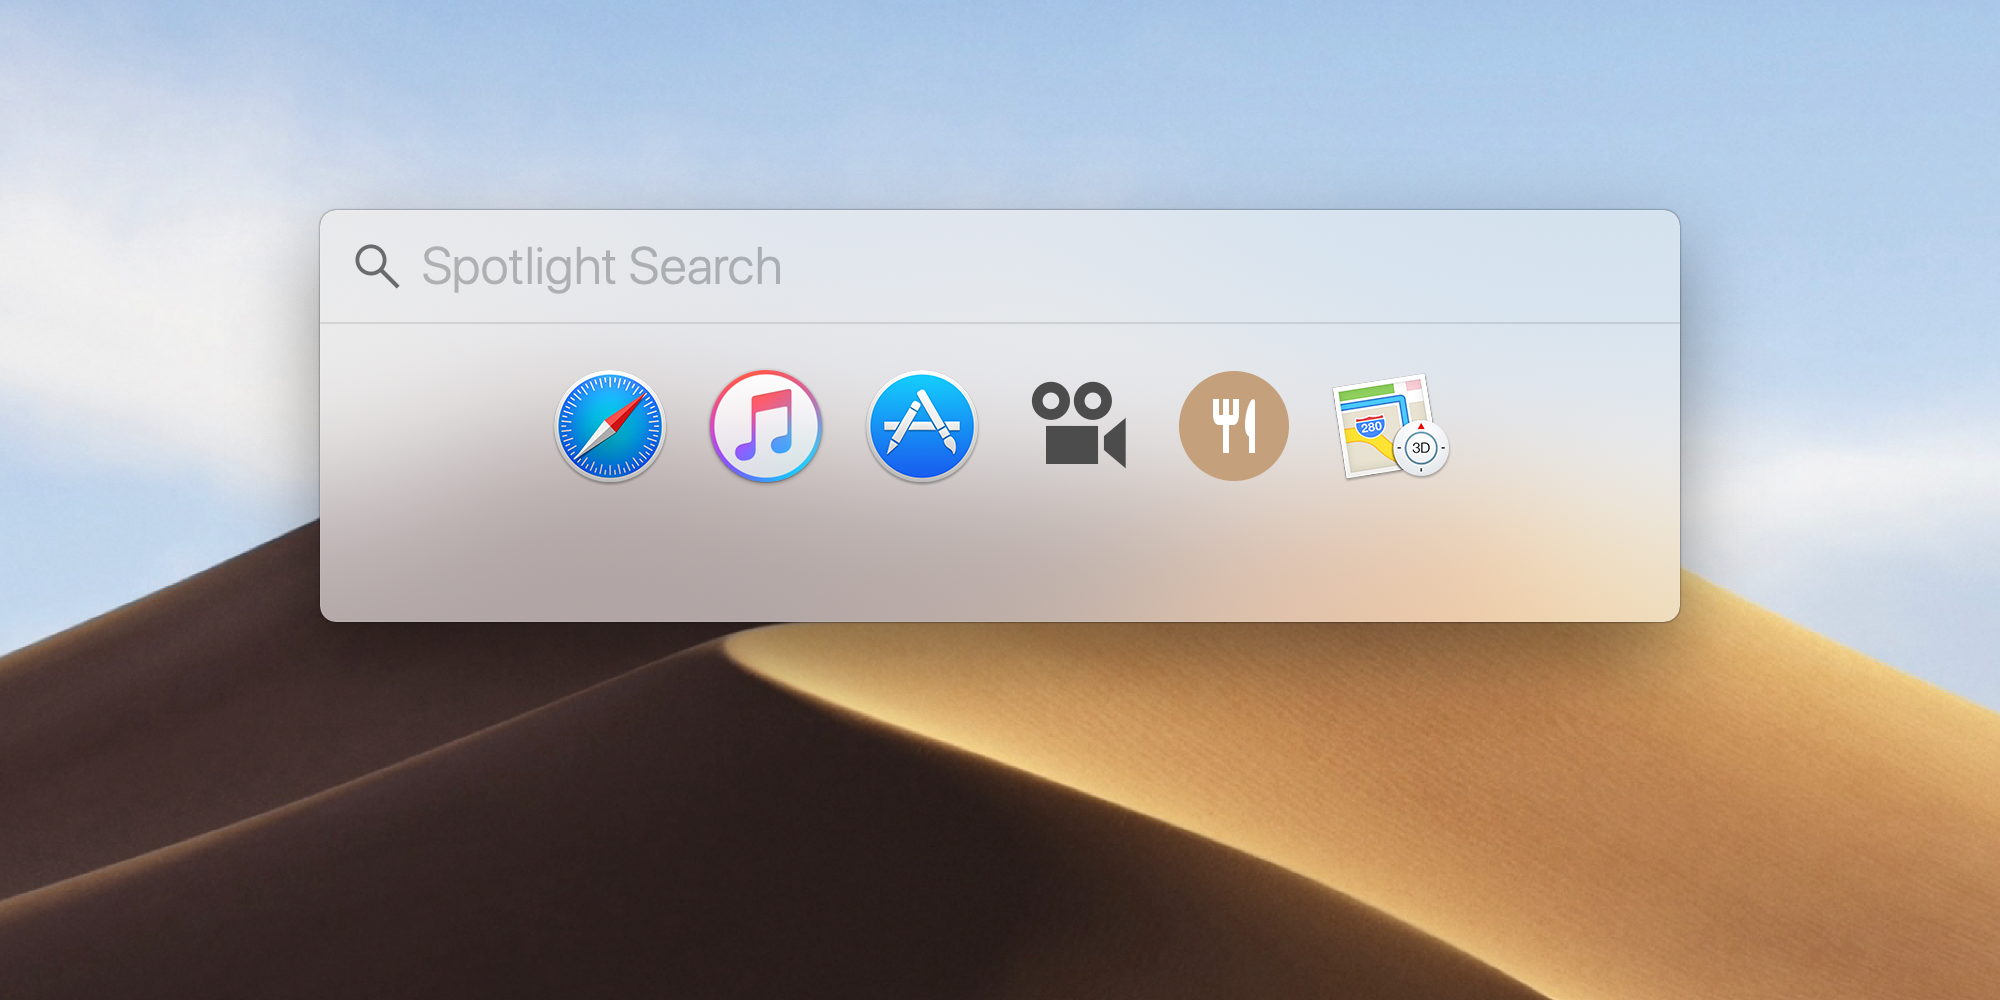
4. Nothing Gets Lost With Spotlight
After you’ve managed to clean up your digital working space, everything should be better arranged and easier to find. For even faster access to anything you have on your Mac, use Spotlight. Press Command + Space, start typing the object’s name or content and choose from the suggestions. It’s that easy.
Those were the basic tips for a desktop clean-up which macOS provides you with. For even more advanced opportunities, you can use these handy apps which do an excellent job in organizing your Mac workspace.
Unclutter
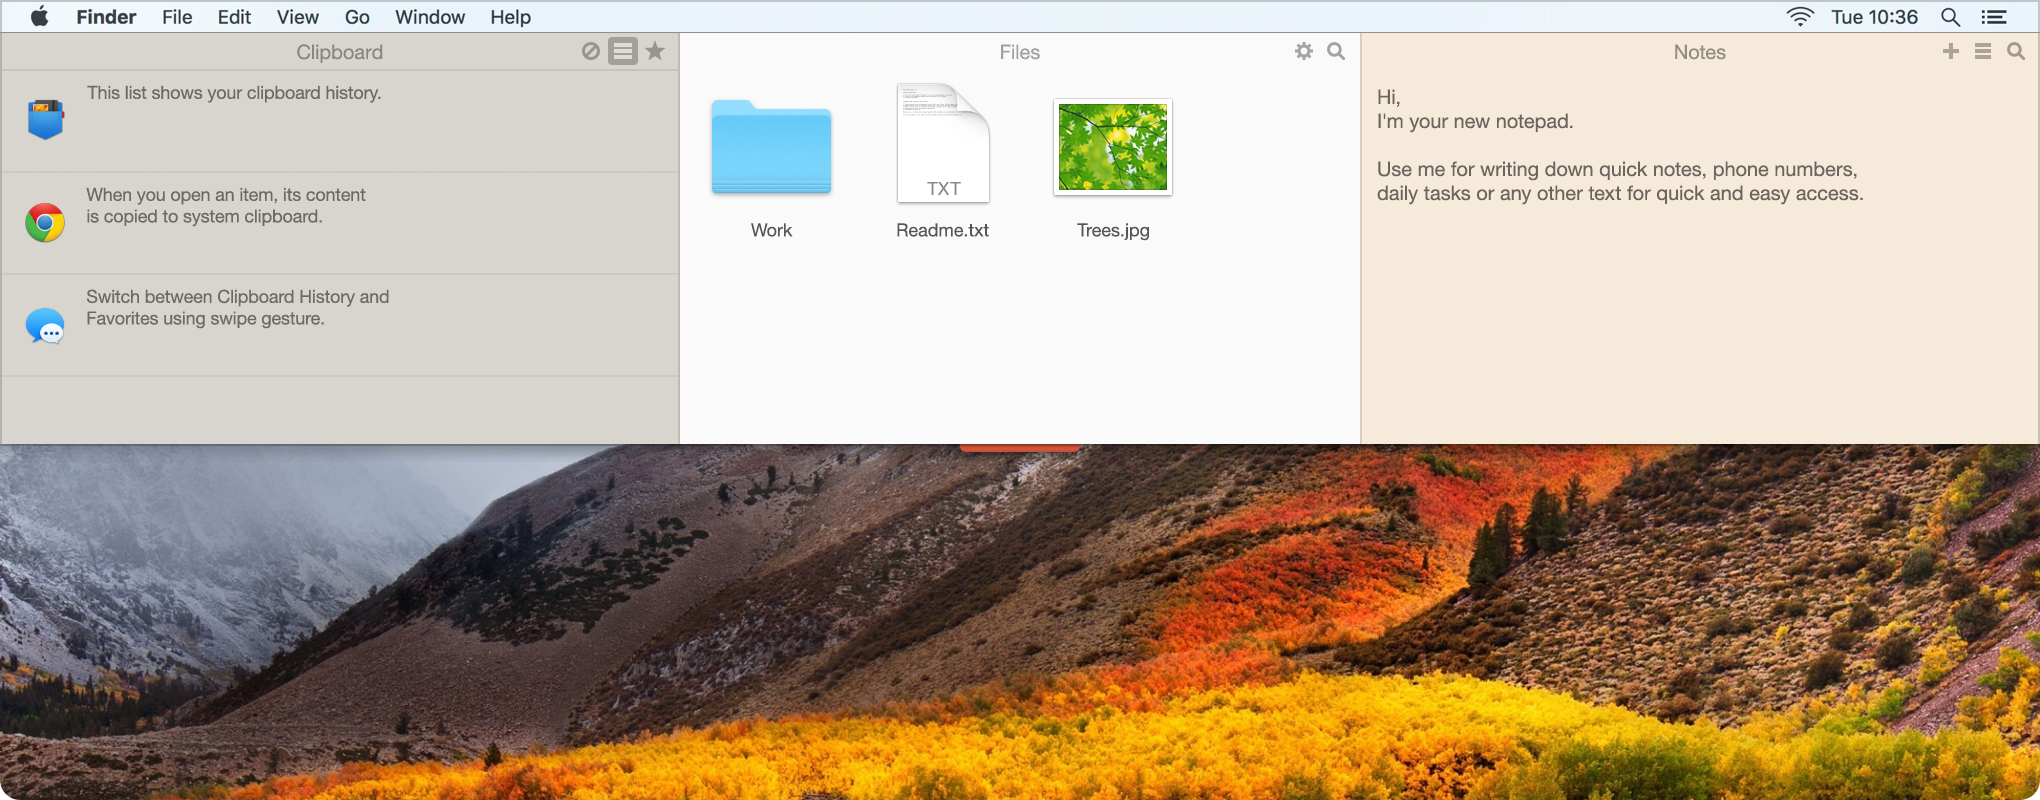
Unclutter is a handy window that sits above your desktop and can be summoned whenever needed. All you have to do is move your mouse to the screen top and slide down. Unclutter opens with three panels: Clipboard, Files and Notes.
This is a great productivity boosting concept with a unique and simple implementation. All the data you work with will be neatly organized in one place and accessible instantly with one simple gesture.
When your copied data, temporary or often-used files, and quick notes are stored in Unclutter, you can easily keep the desktop clutter-free. And if you believe it’s better to see once – watch Unclutter in action.
Declutter
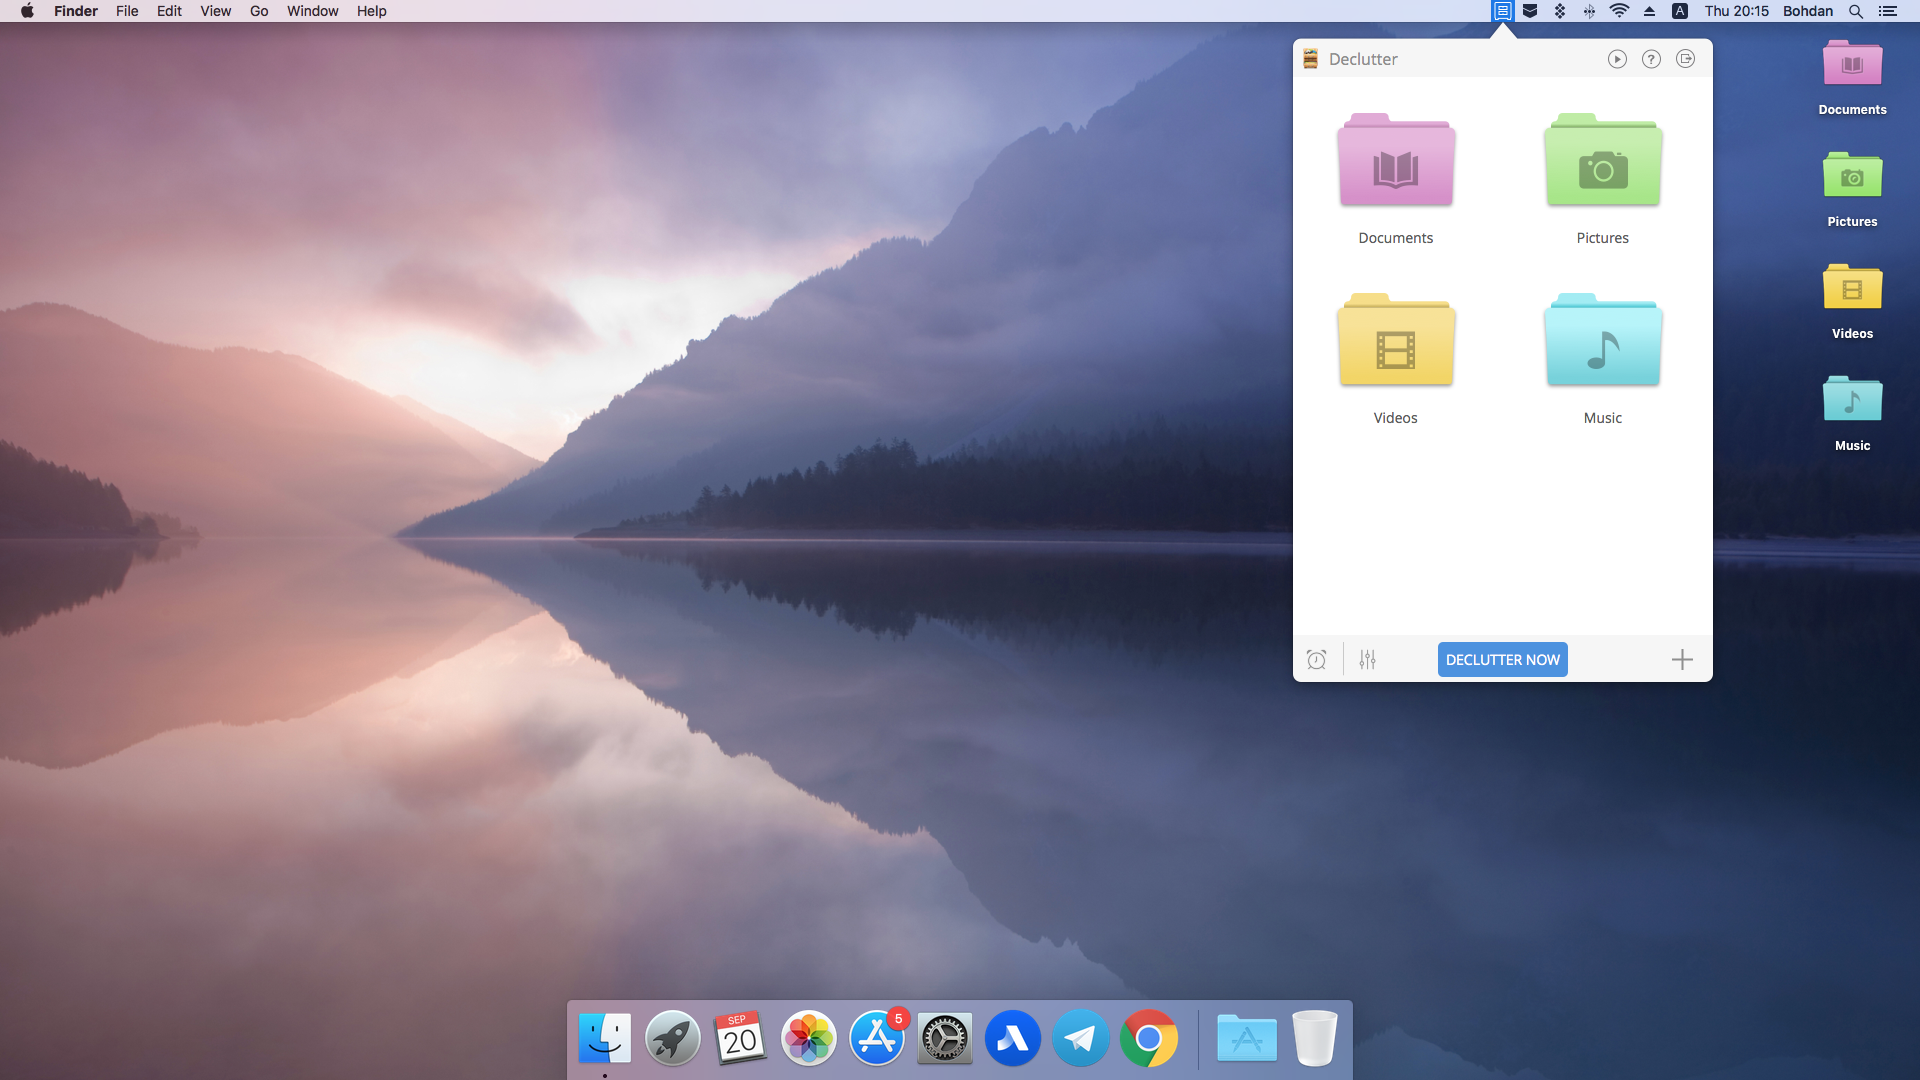
If you can’t resist the temptation to keep your things on the Desktop, you can at least have them organized in smart folders with Declutter. The app is quite easy to grasp. Declutter allows you to quickly group items into desktop folders by their name or extension.
Set a filter or two and hit DECLUTTER NOW – the app will do the rest. Alternatively, use the Automatic Mode. Time intervals for automatic clean-ups vary from every 1 minute to every 8 hours. Thus, you’ll have your most used photos, screenshots, books, documents, etc. distributed to the appropriate desktop folders, when you want it.
Spotless
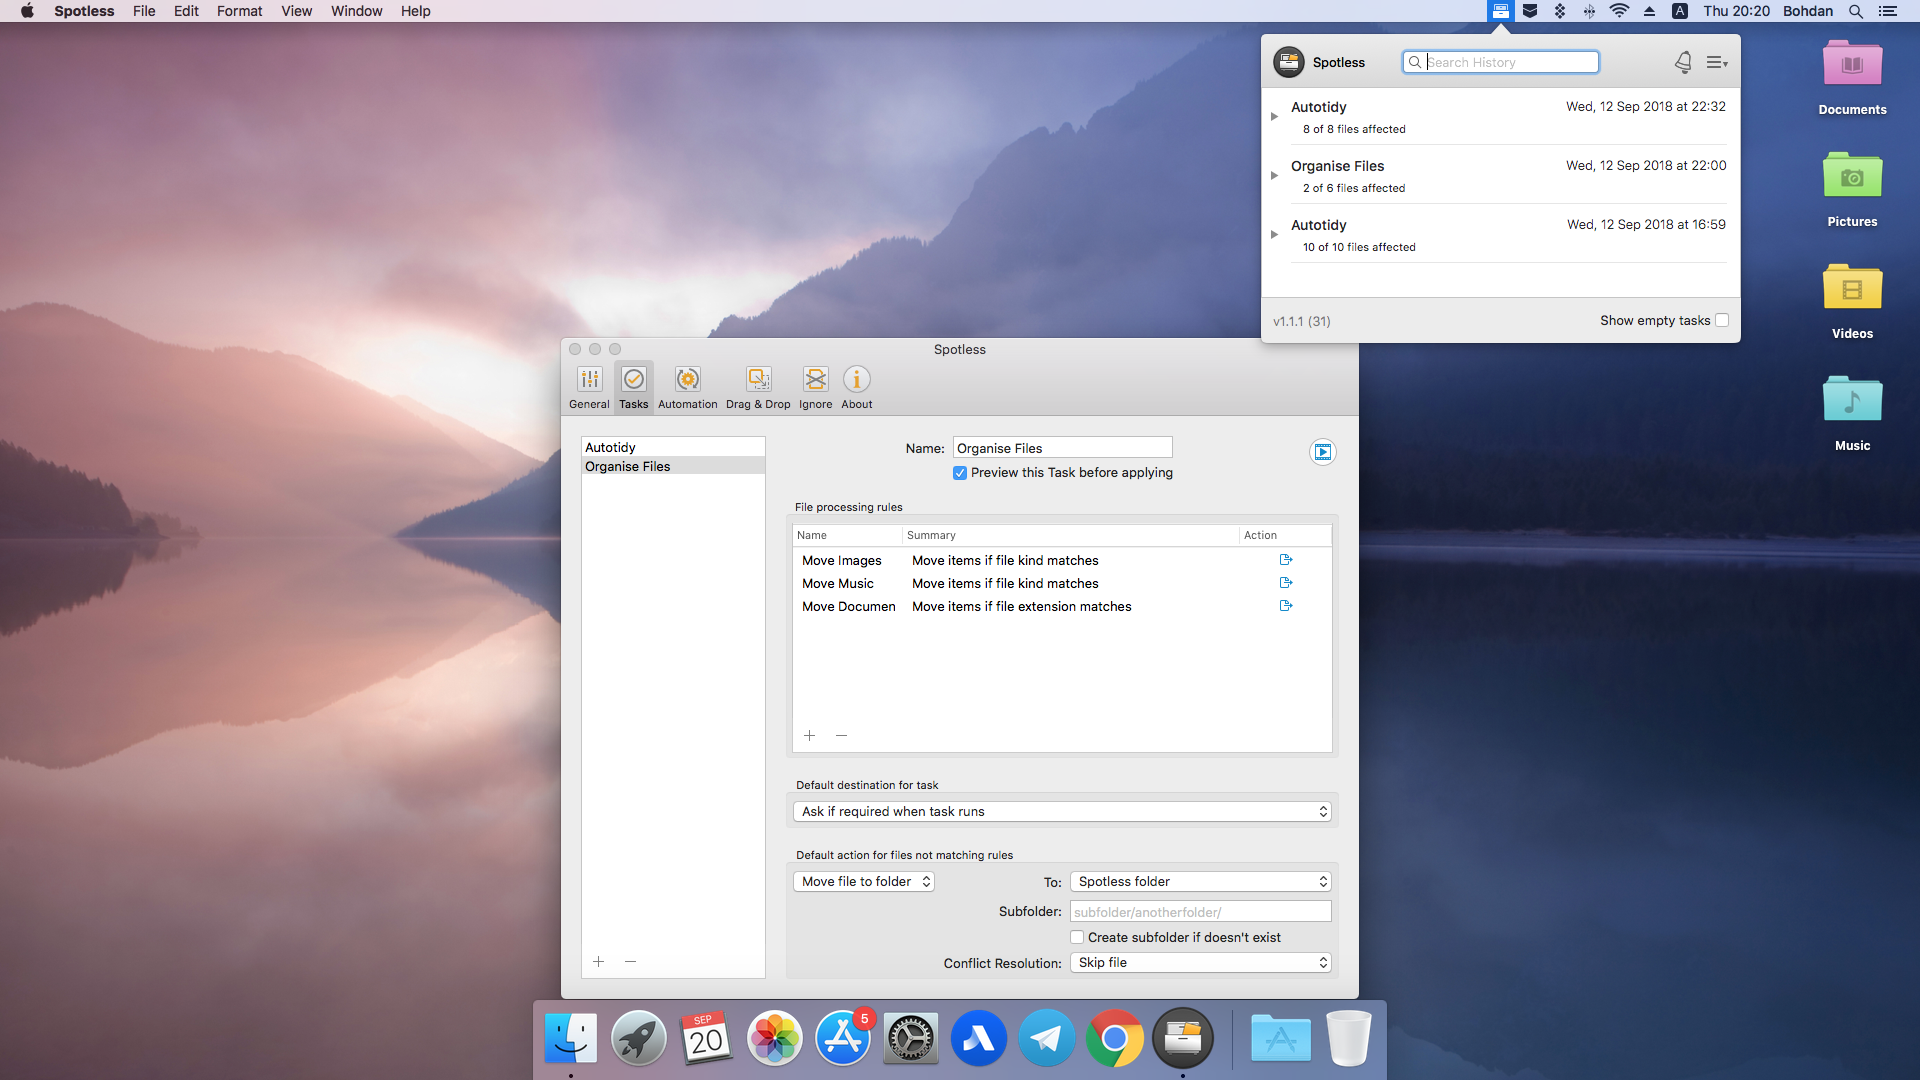
If you need a powerful app to completely organize not only your Desktop but also Downloads and other folders in a Mac – go for Spotless. Sure, you’ll need some time to teach the app how to deal with all the files. But once you’ve done it, the results are incredible.
Define the rules under various conditions to perform different actions. Set tasks, such as Autotidy and Organise Files; specify all the other parameters. For instance: to make all your images go to the /Pictures system folder – in an “Organise Files” task, you’ll set the action “Move”, file type “Images”, to “Pictures”.
To finally tidy up that messy desktop (or any other folder), you either drag the items to the menu bar’s Drop Target or schedule automatic clean-ups.
Two more tools you may find useful when organizing your Mac
Bartender – to manage your menu bar items. Access, search, reorder, show them selectively or simply clean the menu bar.
Mosaic – to arrange the app windows to your desire. There are plenty of layouts for you to choose from with the adjustable parameters.
To sum up
A cluttered desktop shouldn’t be an issue after you apply all of these tips and recommendations. Bear in mind the main simple idea: if you keep everything in order, it will stay that way.
That is the recipe for finding the required pieces of data quickly, saving your time for something that is really important. As a result, you are more productive and organized.
So, develop tidy habits, put all the files where they belong, say goodbye to junk. And use those great Mac apps to help you with all that.